






When Damage Happens
Most artificial turf installs will show some damage over 15+ years:
- Burns from fire pits, cigarette butts, pyrotechnics, or BBQ ash
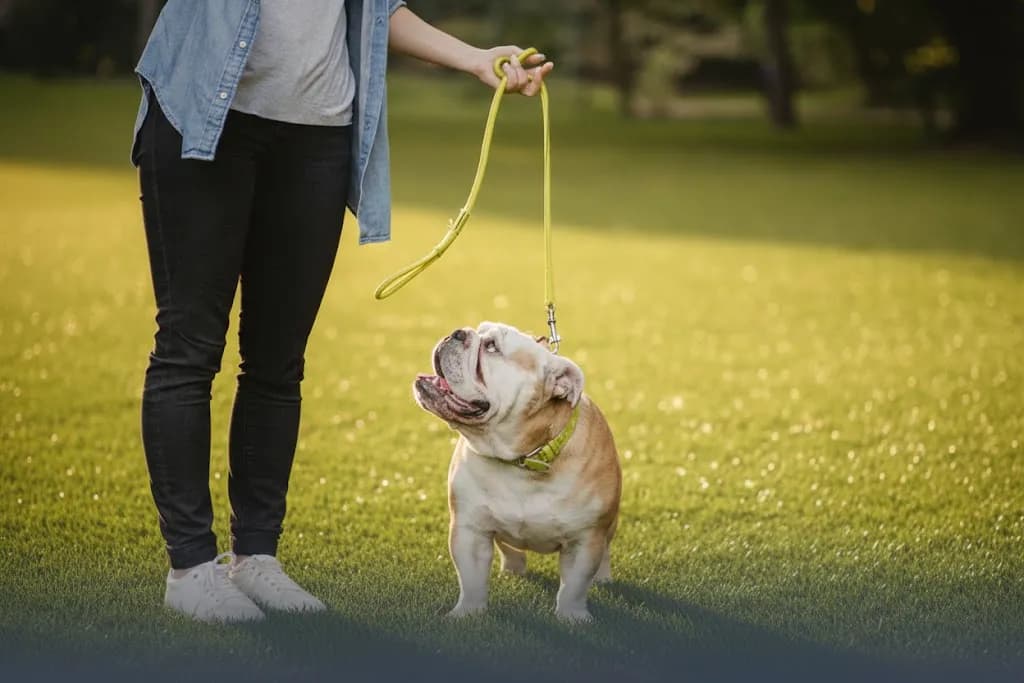
- Rips and cuts from garden tools, dropped grill grates, or ambitious puppies
- Worn high-traffic patches at gates, under swing sets, or along pet paths
- Melt spots from reflected sunlight (window glare, chrome car bumpers)
Good news: nearly all of this is spot-repairable without replacing the whole lawn.
What You'll Need
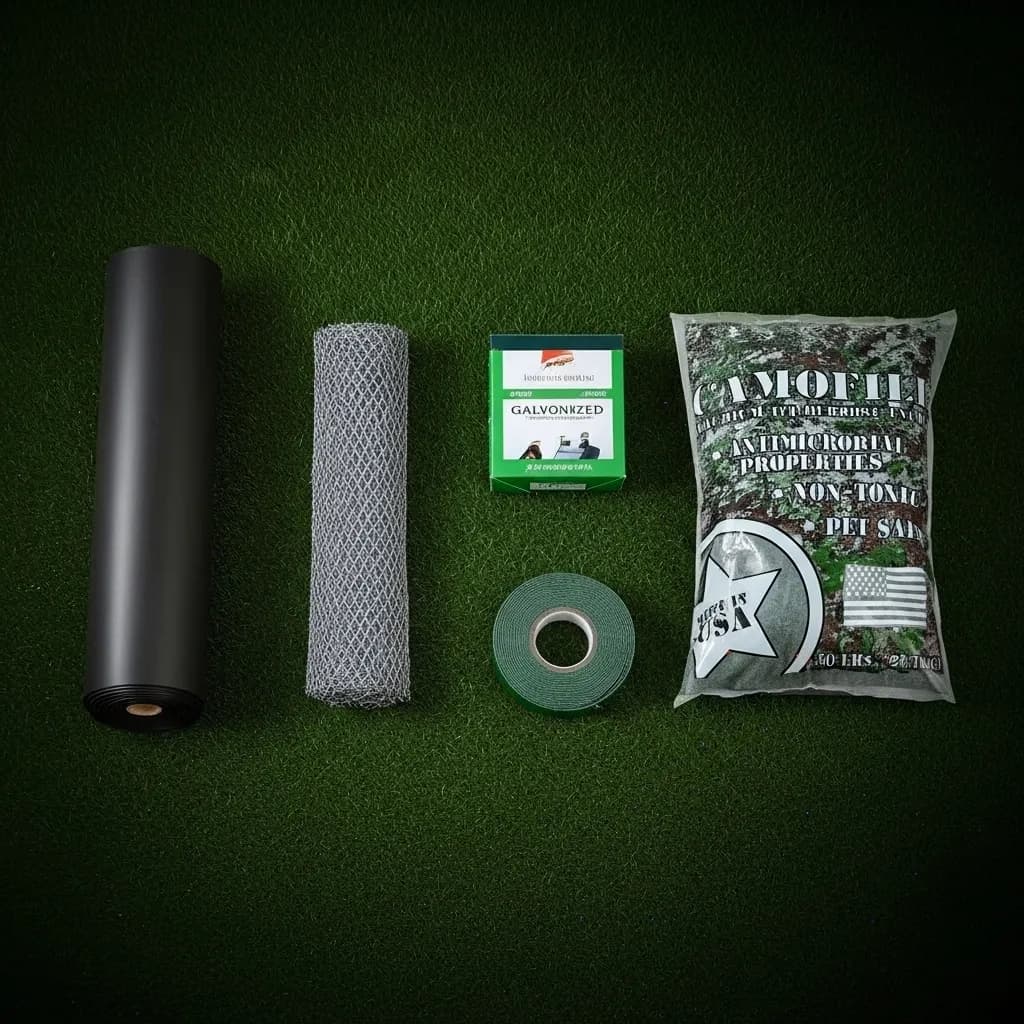
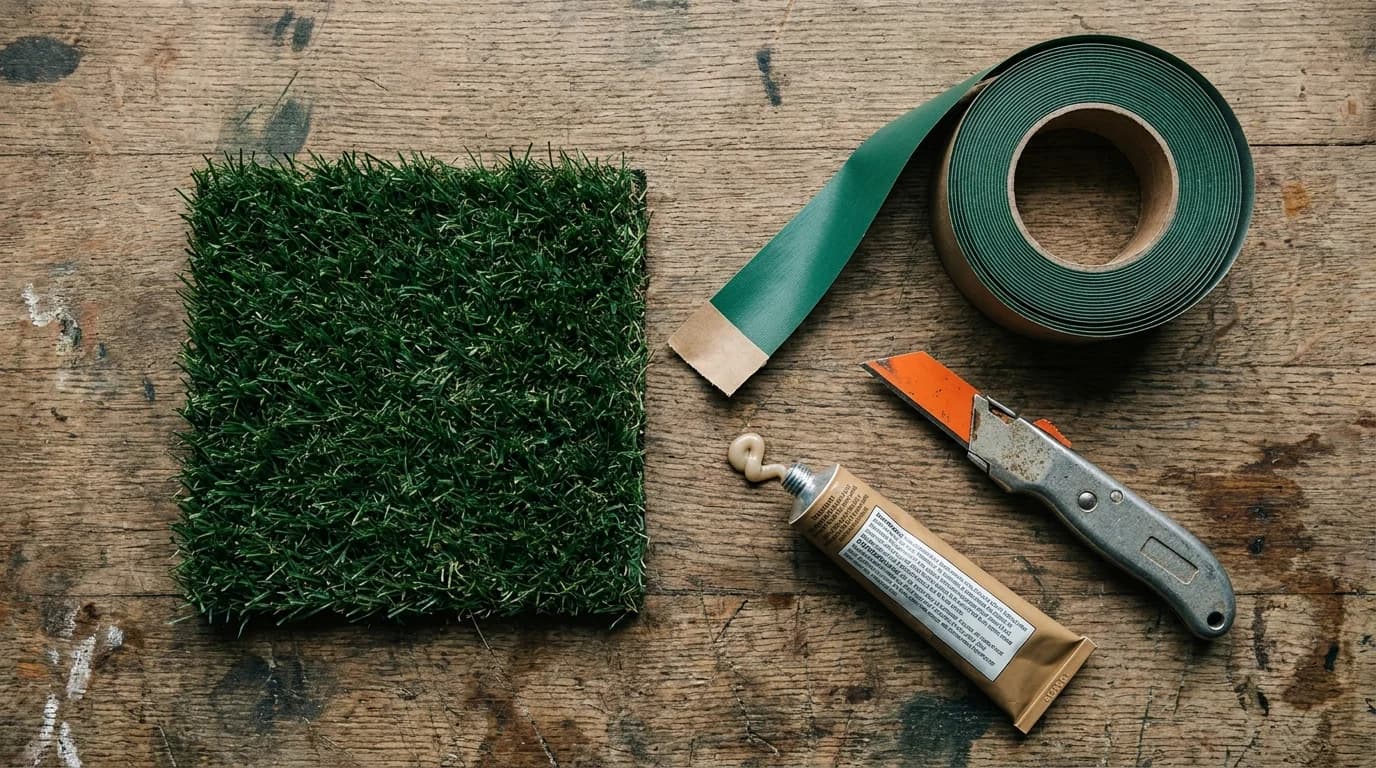
- Replacement turf scrap (match blade, color, pile height — see our blade shapes guide)
- Sharp utility knife with fresh blade
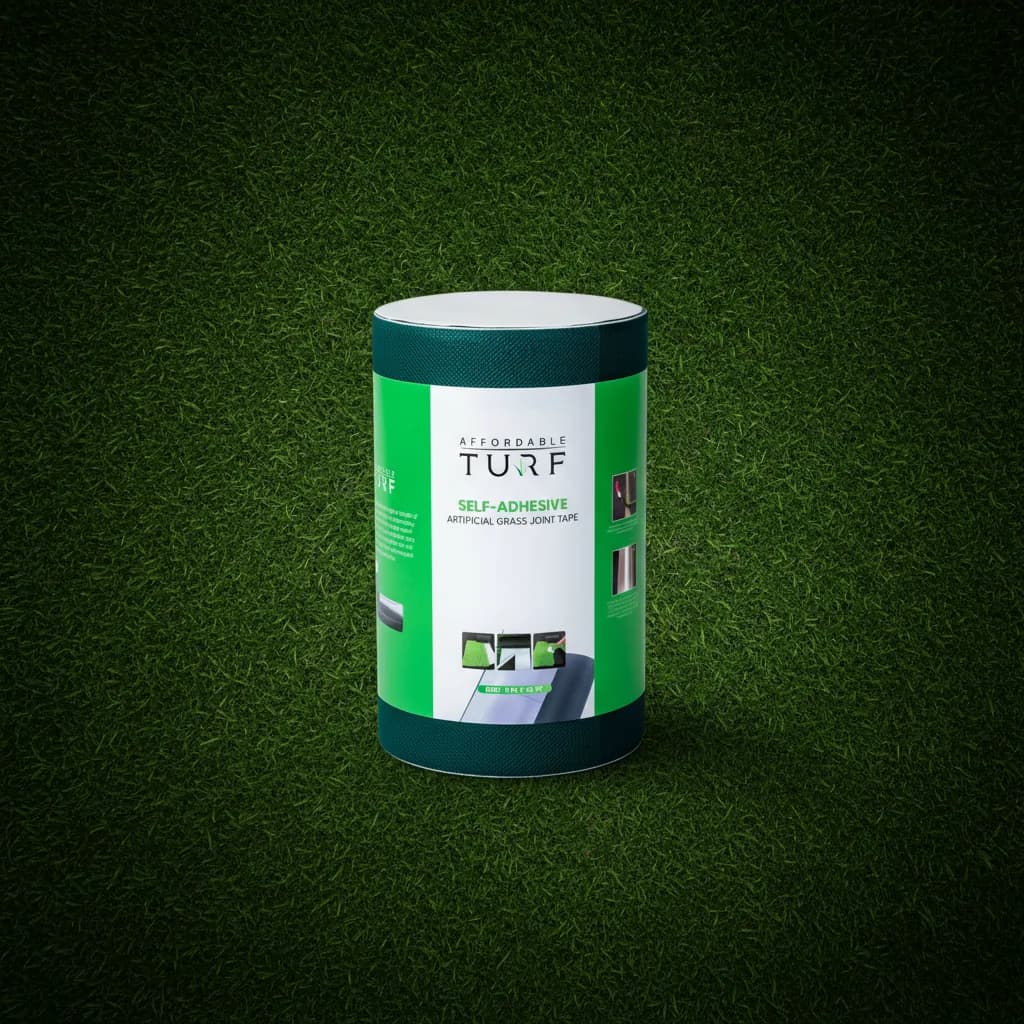
- Seam tape and polyurethane turf adhesive (available on our supplies page)
- Weighted roller or a few bricks
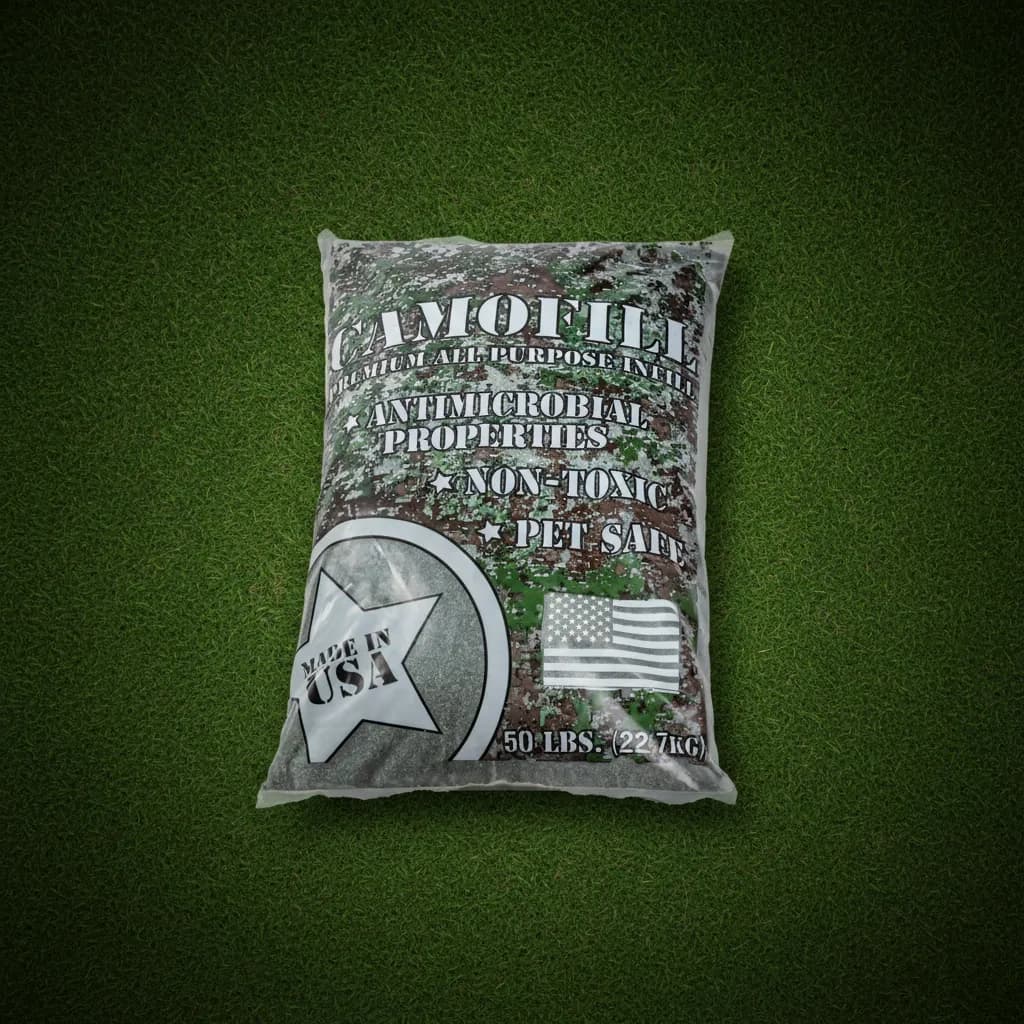
- Infill to top off after patch cures
- Stiff bristle brush
The 7-Step Patch Procedure
Step 1: Isolate the Damage
Mark a clean rectangle around the damaged section with painter's tape. Make it at least 2 inches larger than the damage on all sides.
Step 2: Cut Out the Damaged Section
Using a fresh utility blade, cut along the backing (not through blades) following your tape line. Pull out the damaged piece. Reserve it to match blade grain direction on the replacement.
Step 3: Prepare the Patch
Cut a matching rectangle from your replacement turf scrap. Grain direction must match the surrounding turf — if your blades face east, so should your patch. Our 10 common mistakes post covers why grain mismatch ruins the look.
Step 4: Lay Seam Tape Under the Edges
Fold back the surrounding turf about 3 inches on each side of the hole. Lay seaming tape under the join line, adhesive side up.
Step 5: Apply Adhesive
Run a thin bead of polyurethane turf adhesive along the tape. Don't overdo it — a 1/4" bead per linear foot is plenty. Excess glue bleeds through and gums up blades.
Step 6: Set the Patch
Press the patch into position. Roll with a weighted roller or stand on it with your heels and press down. Place bricks on top for 24 hours while the adhesive cures.
Step 7: Infill and Brush
After 24-hour cure, sprinkle infill (silica or ZeoFill — see our infill guide) over the patch and brush it in. The patch disappears visually within a week as fibers settle.
Special Case: Burn Repairs
Burns leave melted plastic residue. Don't just patch over it — cut it out completely. Melted polyethylene remains hard and lumpy under a patch and shows through forever.
The Consumer Product Safety Commission publishes fire-pit safety guidelines worth reviewing to prevent future burns. For the design-side playbook, see our holiday entertaining post.
Special Case: Pet Dig Repair
If your dog has dug through to the base:
- Smooth and re-compact the exposed base
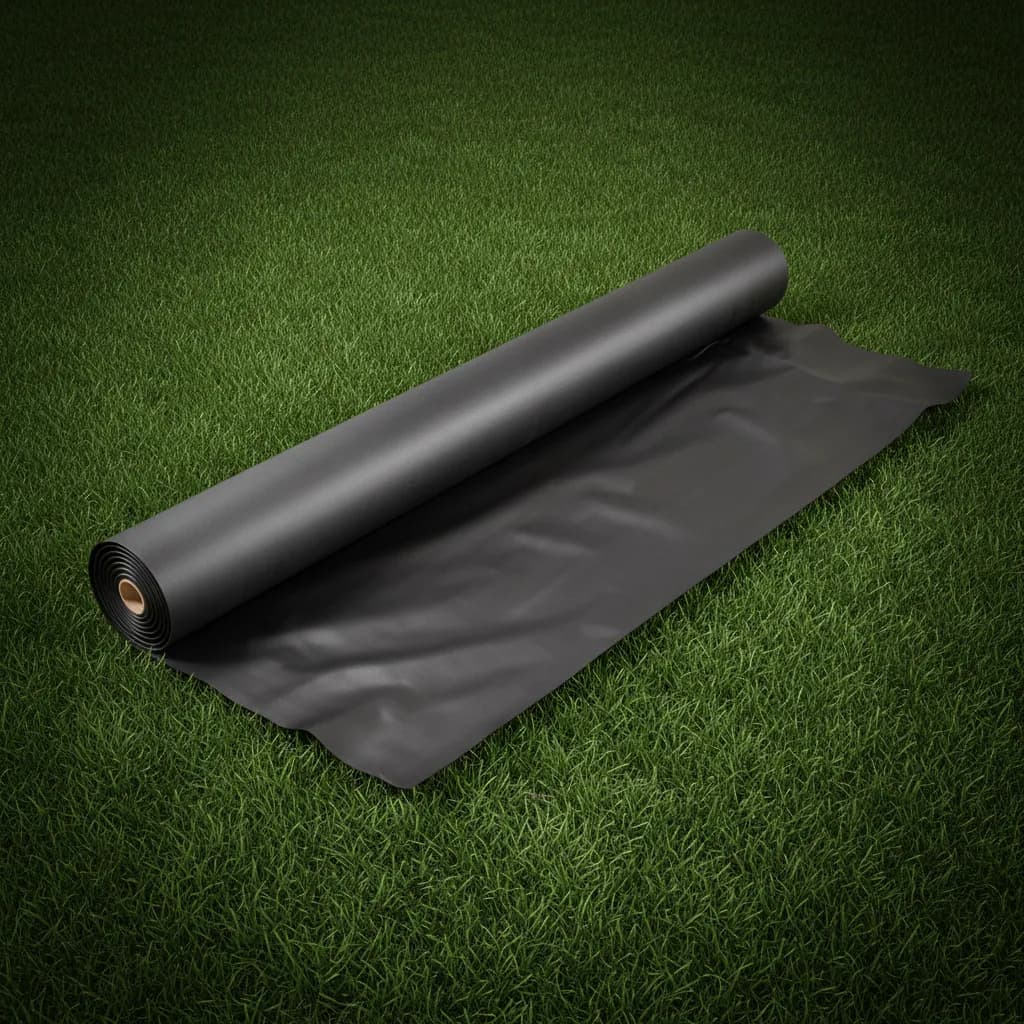
- Replace the weed fabric if it's torn
- Patch following the procedure above
- For repeat diggers, apply a thin layer of ground pepper or commercial repellent along the perimeter
More in our pet turf guide.
When to Call a Pro
Patch repair is DIY-friendly for damaged areas up to about 4x4 feet. Larger failures — big seam separations, wide-area matting, drainage problems — typically indicate a base issue and need professional inspection. See our installer network.
Preventing Future Damage
- Keep fire pits on stone pads at least 24" wider than the pit
- Store sharp garden tools indoors or in a shed
- Add a shock pad under swings and high-traffic kids' zones (see kid-safe guide)
- Check for reflected-sunlight hot zones from windows and park chrome accordingly
Ordering Repair Supplies
We ship patch kits, adhesive, and seaming tape. See supplies or contact us for custom color-matched replacement swatches if you don't have original installation scrap.