






Why Now Is the Right Time
Winter and early spring are the ideal windows to convert a natural lawn. The dormant grass is easier to remove, contractors have shorter wait times, and your new turf is in place before summer entertaining season. Over 10 years, the switch pays for itself — see the full breakdown in our cost comparison post.
Step 1: Measure and Plan
Walk your yard with a measuring tape and sketch it out. Include:
- Total square footage
- Any obstacles (trees, sprinkler heads, utility lines)
- Access points for material delivery
- Drainage direction
Enter the numbers into our project calculator for a materials estimate.
Step 2: Cap the Irrigation
You won't need it — but don't just rip it out. Have a plumber cap the main irrigation line at the valve manifold. This preserves the system for the next homeowner and lets you continue drip-irrigating any planter beds.
Check with your local water utility, too — many offer turf rebates for tearing out natural grass. The EPA WaterSense program maintains a directory of rebate programs by state.
Step 3: Remove the Existing Sod
Two options:
Sod cutter (recommended): Rent one for ~$100/day. Cuts sod into rollable strips at a consistent depth of 2 inches. Fast and clean.
Shovel + labor: Works for small yards (under 300 sq ft). Cut into 12" squares and pry up with a flat shovel.
Compost the sod, use it as fill in a garden bed, or arrange bulk pickup. Natural sod is biodegradable — the EPA home composting guide covers soil health and yard-waste reuse.
Step 4: Grade and Prep the Base
This is the most important step. A bad base guarantees a bad turf install — no exceptions.
- Excavate an additional 2–3 inches (total 4–5 inches below finished grade)
- Establish a 1–2% slope away from your home
- Add 2–3 inches of decomposed granite or Class II road base
- Compact with a plate compactor to 95%+ density
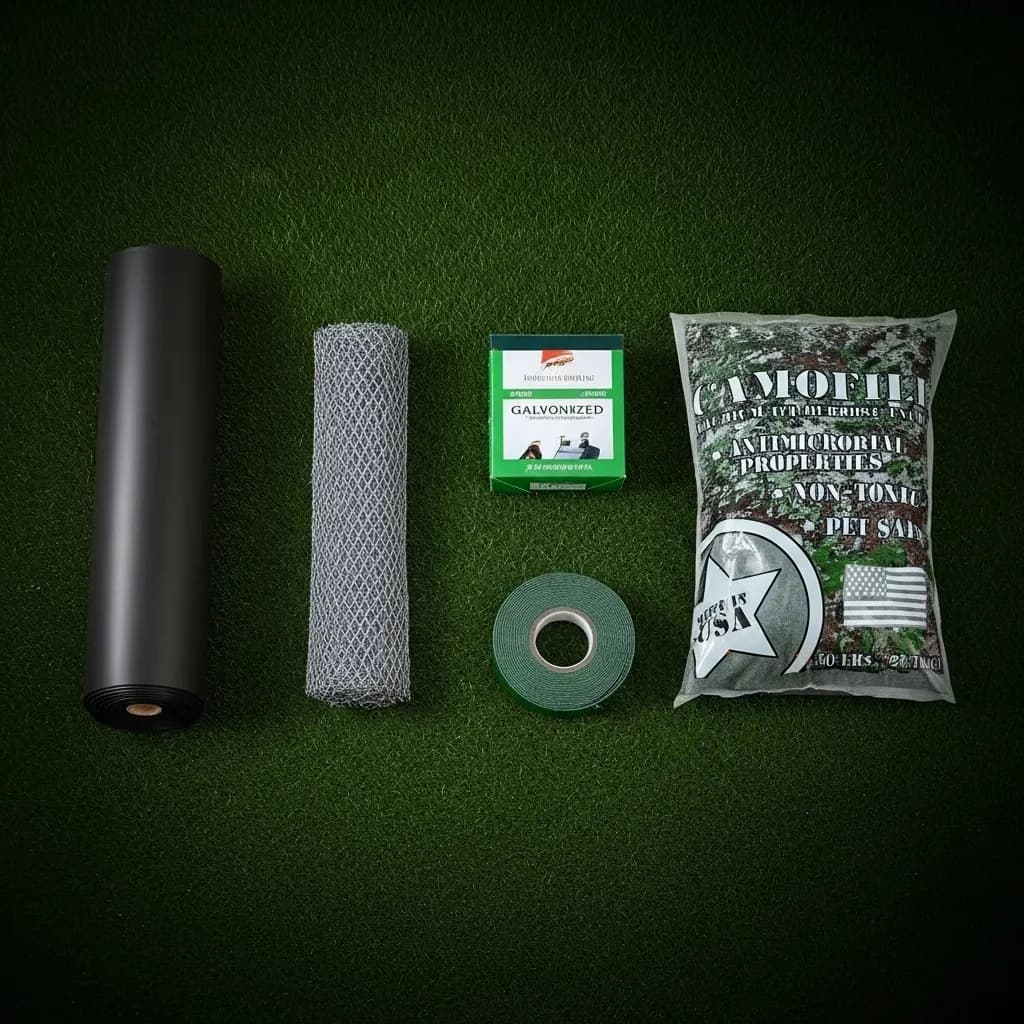
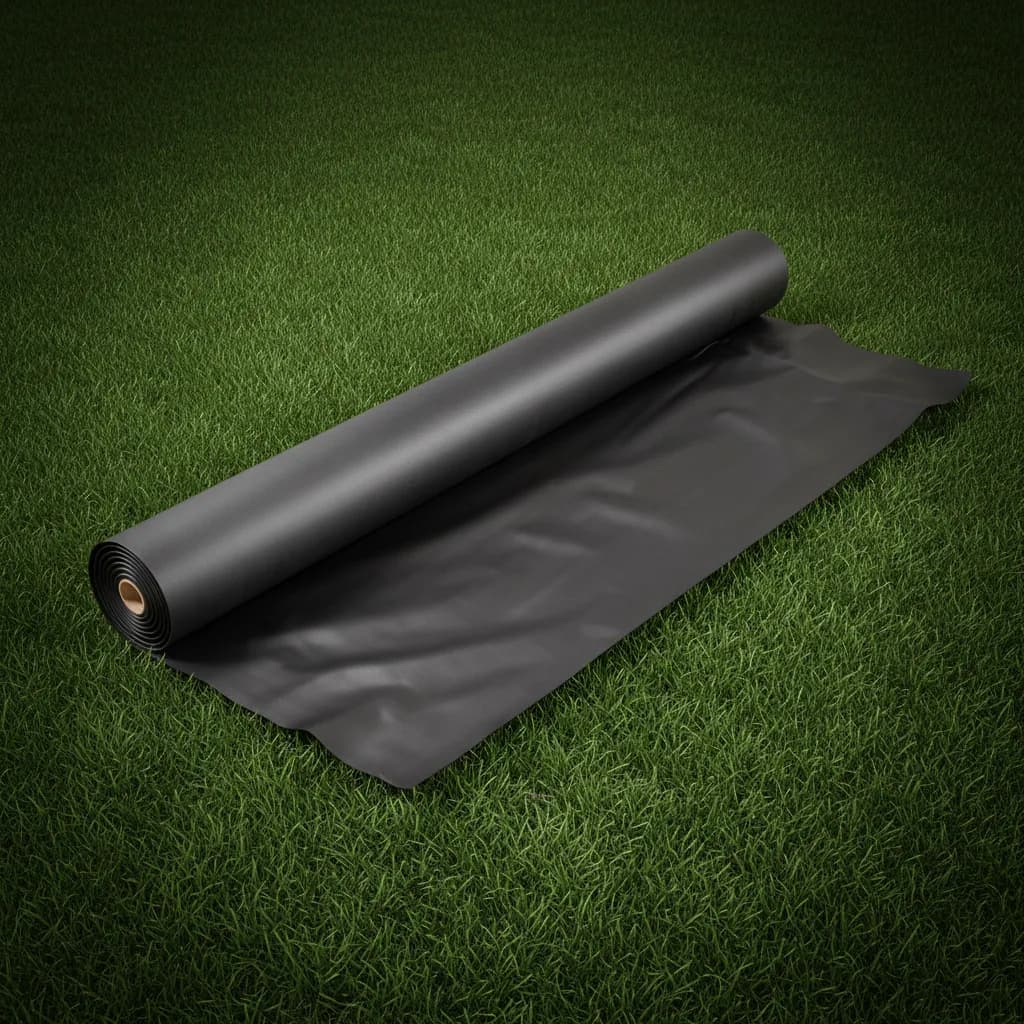
- Install weed barrier fabric across the entire base
Full base-prep procedure in our DIY installation guide.
Step 5: Install the Turf
- Roll turf out and let it acclimate 1–2 hours
- Orient all pieces with the grain facing the same direction (usually toward the primary viewing angle)
- Cut with a sharp utility knife from the back
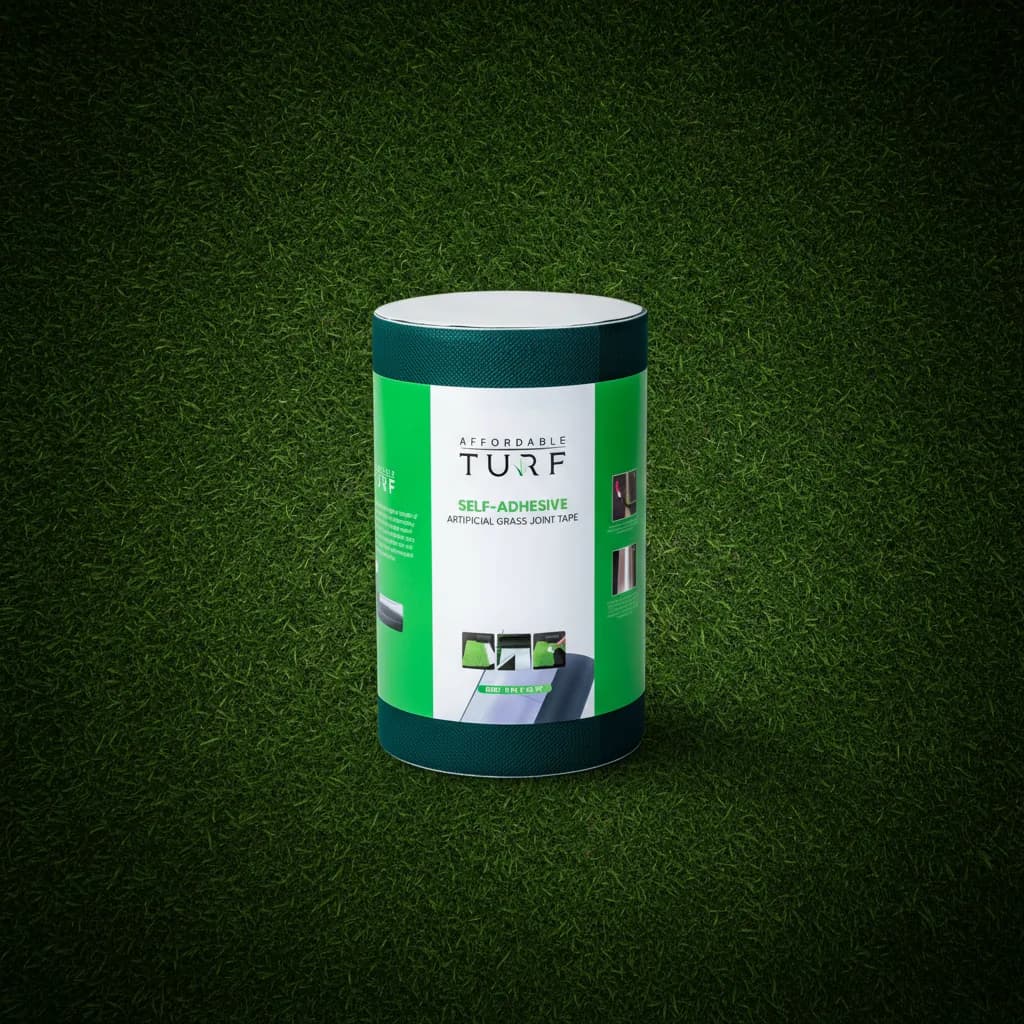
- Seam with turf tape and adhesive — press firmly with a weighted roller
Step 6: Anchor and Infill
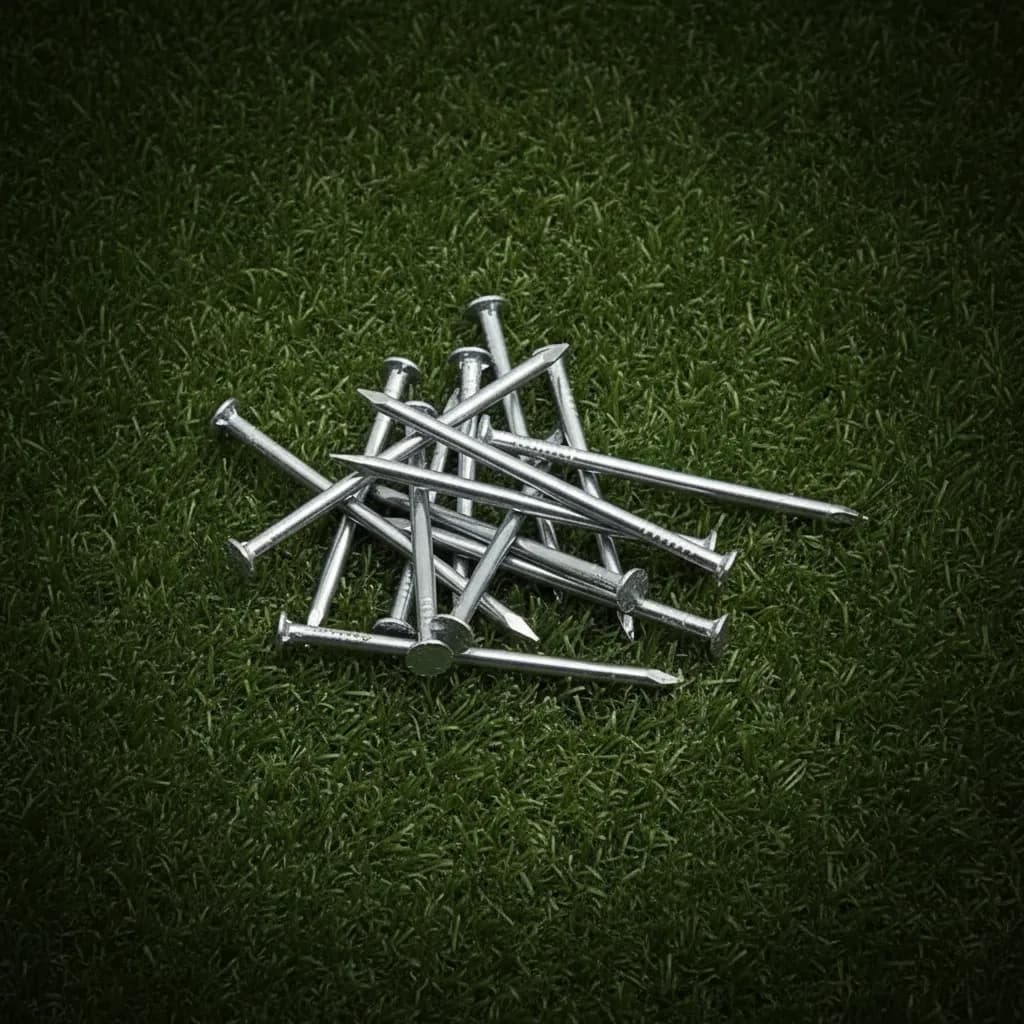
- Nail perimeter every 6 inches with 5" galvanized nails
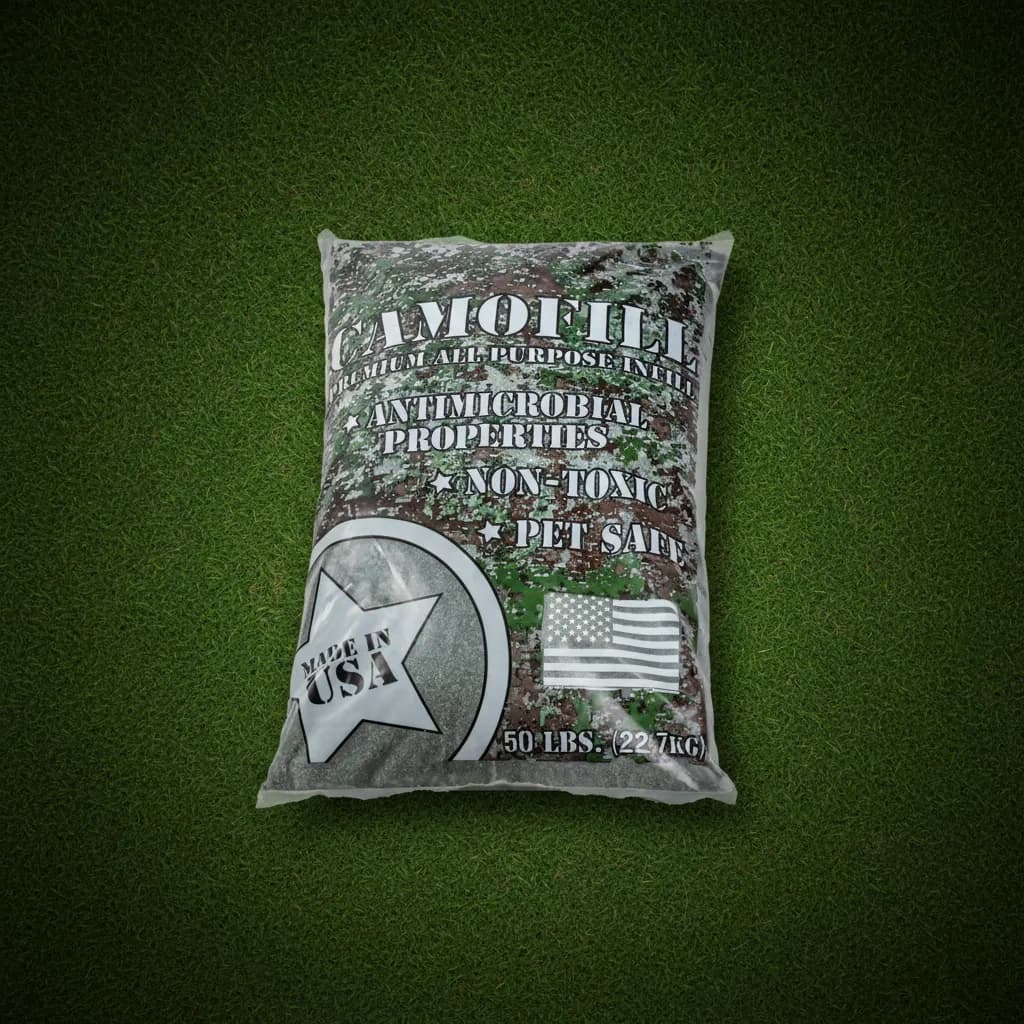
- Spread 1.5–2 lbs/sq ft of infill (see our infill guide to pick the right one)
- Power-broom in three light passes
Step 7: Final Walkthrough
- Look for lifted seams, exposed nails, uneven infill
- Rinse the entire surface to settle infill and remove installation debris
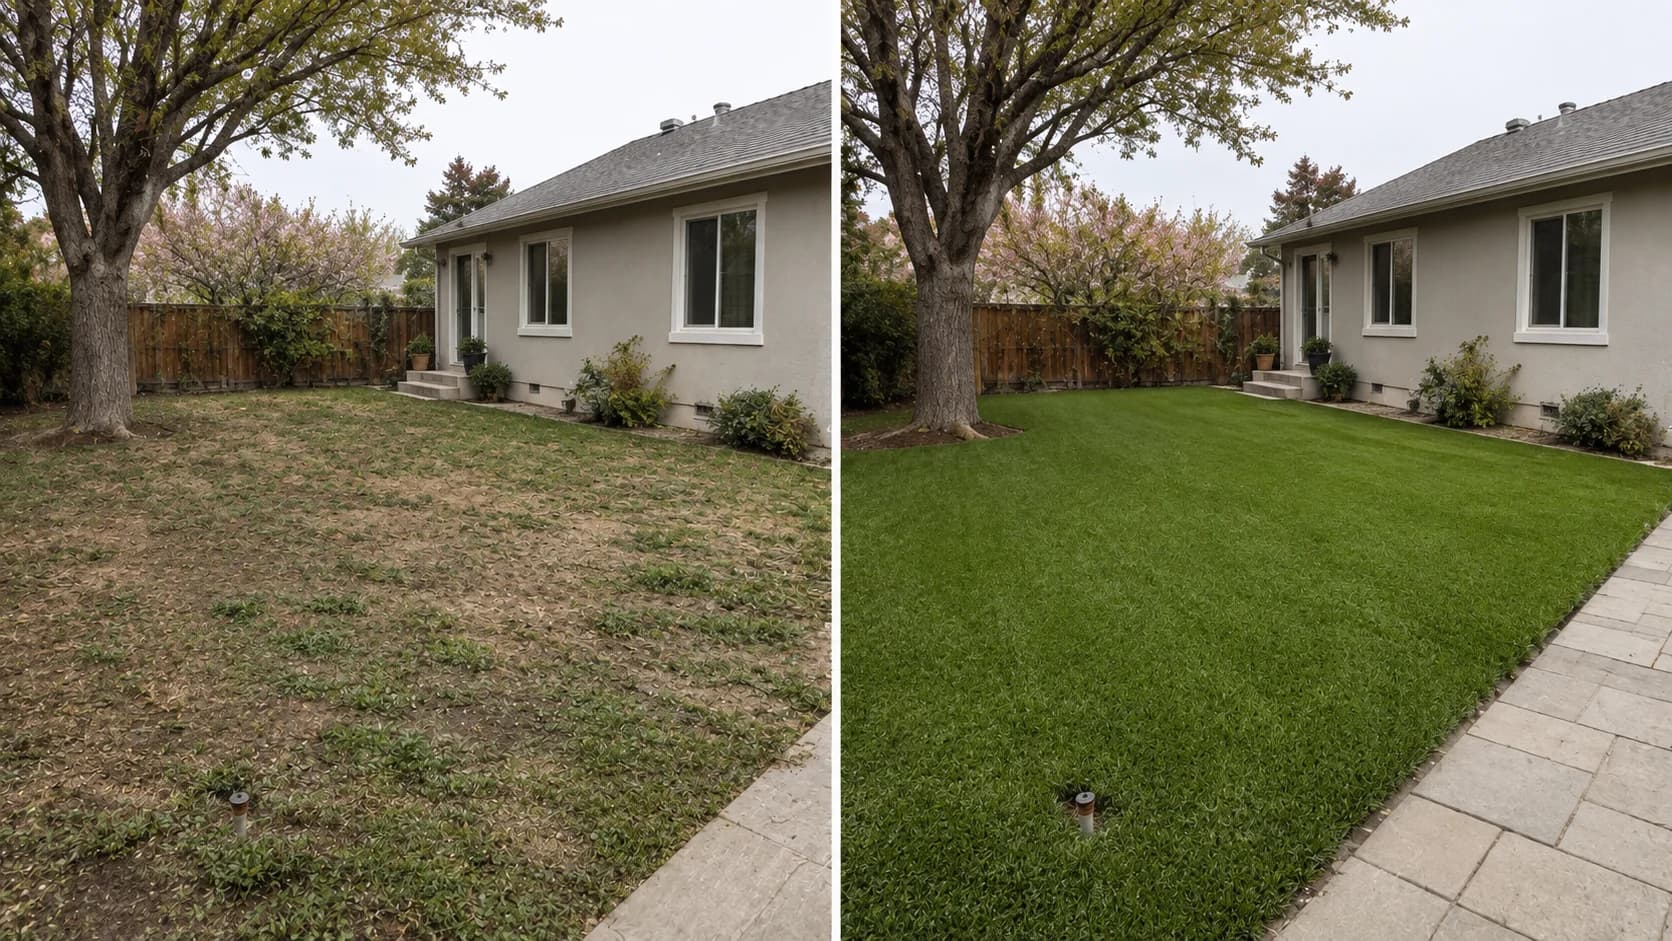
- Take before/after photos for insurance and resale documentation
DIY vs Hire a Pro
DIY saves 40–50% but requires two people, tool rental, and a full weekend. If you'd rather leave it to a pro, our installer network covers most major metros. Financing available on our financing page.
Get Started
The best way to start is with real samples. Order free samples and we'll ship 5–8 turf swatches with a spec sheet so you can decide before you demo.